The Secrets to Perfectly Pan-Seared Chicken: Achieve Juicy & Crispy Every Time
For many home cooks, the quest for a perfectly cooked chicken breast feels like an elusive culinary dream. Often, the result is dry, rubbery, and utterly unsatisfying. But what if we told you there’s a simple, revolutionary technique that guarantees a supremely juicy interior with an irresistibly crispy, golden-brown exterior? Forget everything you thought you knew about cooking chicken in a skillet. By embracing the "cold-start" method and a few expert tips, you can transform your everyday pan seared chicken breast into a restaurant-quality masterpiece, every single time.
This comprehensive guide will demystify the art of pan-searing, providing you with the knowledge and confidence to create chicken that is moist, flavorful, and has that coveted crunch. Get ready to elevate your cooking and impress your palate.
The "Cold-Start" Revolution: Why Your Pan Seared Chicken Breast Will Never Be the Same
The traditional wisdom often dictates heating your skillet to screaming hot before adding your protein. However, when it comes to achieving an evenly cooked, perfectly crispy and juicy cold-start pan seared chicken, the "cold-start" method turns this convention on its head – and for good reason. This technique involves placing your seasoned chicken breasts into an unheated, dry skillet, then setting it over high heat. The magic happens as the pan and chicken gradually come up to temperature together.
Here’s why the cold-start approach is a game-changer for your pan seared chicken breast:
- Gradual & Even Cooking: As the pan slowly heats, the chicken cooks gently from the outside in. This prevents the exterior from scorching or toughening before the interior has a chance to cook through. It’s like a gentle warm-up for your chicken, ensuring a consistently tender texture.
- Superior Browning & Crust: The gradual heating allows the chicken's natural moisture to render slowly, creating a drier surface that is prime for developing a deep, even, and incredibly crispy crust. Without the immediate shock of a super hot pan, you avoid uneven searing and achieve that sought-after golden-brown perfection across the entire surface.
- Reduced Splatter: Lightly oiled chicken placed in a cold pan means less immediate oil sizzle and splatter. The oil has time to adhere to the chicken and heat up with it, resulting in a cleaner cooking experience.
- Juicier Interior: Because the chicken cooks more gently and evenly, the muscle fibers don't seize up as quickly. This helps the meat retain its precious moisture, leading to a consistently juicy interior that makes all the difference.
Embracing the cold-start method means saying goodbye to dry, unevenly cooked chicken and hello to a reliable, delicious result every single time. It's truly the secret to a perfect cold-start pan seared chicken: the secret to juicy breasts.
Essential Prep for Flawless Pan Seared Chicken Breast
While the cold-start method is transformative, the journey to a perfect pan seared chicken breast begins long before it hits the pan. Meticulous preparation is crucial for achieving that ideal balance of crispy skin and succulent meat. Don't skip these vital steps!
Choosing and Preparing Your Chicken Breasts:
- Uniformity is Key: For the best results, select boneless, skinless chicken breasts that are similar in size, ideally weighing up to 10 ounces each. Larger breasts (over 12 ounces) are more challenging to cook through without toughening the exterior, so it's best to avoid them for this method. If you're working with slightly larger breasts (10-12 ounces), consider slicing them horizontally before cooking or increasing the cooking time slightly, focusing on internal temperature.
- Pounding for Evenness: This step is non-negotiable for an evenly cooked pan seared chicken breast. The thicker part of a chicken breast will cook slower than the thinner end, leading to dry spots. To combat this, gently pound the thicker end of each breast with a meat mallet or a rolling pin until it's a uniform ½ inch thick. Place the chicken between two sheets of plastic wrap or in a large zip-top bag to prevent a mess. This ensures the entire breast cooks simultaneously, guaranteeing tenderness throughout.
- Pat it DRY: Moisture is the enemy of crispiness. Use paper towels to thoroughly pat both sides of your chicken breasts dry. Any surface moisture will create steam in the hot pan, preventing that coveted golden-brown crust from forming. The drier the surface, the crispier your chicken will be.
- Lightly Oil & Season: Before placing your chicken in the pan, lightly brush both sides with a neutral high-smoke-point oil, such as vegetable or canola oil. This light coating promotes even browning without causing excessive splattering. Then, season generously with kosher salt. Remember, the type of kosher salt matters: if using Diamond Crystal, stick to about ½ teaspoon per breast; for denser Morton kosher salt, use slightly less (around 1½ teaspoons for 4 breasts) to avoid over-salting.
Mastering the Pan Searing Technique: Step-by-Step for Juicy & Crispy Results
With your chicken prepped, it's time to put the cold-start method into action. Follow these precise steps to achieve the ultimate pan seared chicken breast:
Equipment You'll Need:
- A 12-inch nonstick or carbon-steel skillet (these conduct heat beautifully and prevent sticking).
- Meat thermometer (essential for accuracy and food safety).
- Tongs for easy flipping.
- A platter and aluminum foil for resting.
The Cooking Process:
- Cold Placement: Arrange your prepared chicken breasts in an unheated, dry 12-inch nonstick or carbon-steel skillet. If cooking multiple breasts, try to arrange the narrow parts opposite the wider parts to maximize space and promote even heating across the pan.
- High Heat & Initial Sear: Place the skillet over high heat. Cook the breasts for 2 minutes without moving them. Then, using tongs, flip them and cook for another 2 minutes. At this point, you should see light browning begin to develop – this is just the start of your crust.
- Frequent Flipping for Perfection: Flip the breasts again and reduce the heat to medium. Continue to cook, flipping the breasts every 2 minutes. This frequent flipping is a crucial aspect of the cold-start method, allowing the chicken to cook gently and evenly while slowly building a deep, rich brown crust without burning.
- Monitor Internal Temperature: Continue cooking and flipping until the exterior is well browned and the thickest part of the breast registers 155 degrees F (68 degrees C) on an instant-read meat thermometer. This typically takes an additional 6 to 8 minutes after reducing the heat, for a total cooking time of around 10-12 minutes depending on breast size and stove power. Don't eyeball it – a thermometer is your best friend here!
- The Critical Rest: This step is as important as the cooking itself. Immediately transfer the cooked chicken breasts, skinned side up, to a clean platter. Tent them loosely with aluminum foil. Let them rest for at least 10 minutes. During this resting period, carryover cooking will occur, allowing the internal temperature to climb to the safe serving temperature of 165 degrees F (74 degrees C). More importantly, the juices, which have migrated to the center during cooking, will redistribute throughout the meat, resulting in an incredibly juicy and tender quick pan-seared chicken breast: juicy & done in 30 minutes.
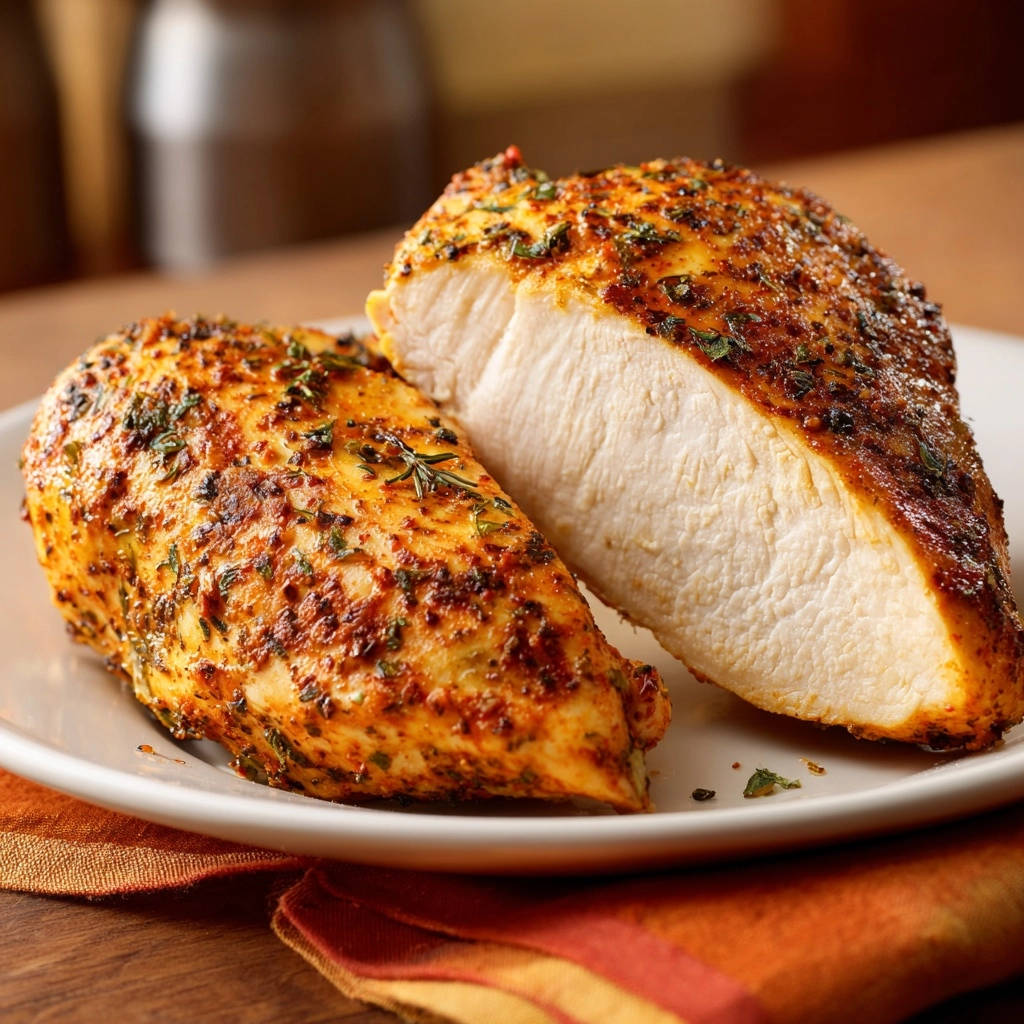
- Serve & Enjoy: After resting, you can serve the chicken breasts whole or, for a more elegant presentation, slice them against the grain and fan them out on plates.
Elevating Your Pan Seared Chicken with Simple Sauces & Pairings
A perfectly pan seared chicken breast is a star in its own right, but it also serves as an incredible canvas for simple, flavorful sauces and versatile side dishes. The beauty of this cooking method is that it leaves behind delicious fond (browned bits) in the pan, which are the foundation for an effortless and tasty pan sauce.
Whip Up a Quick Pan Sauce:
While your chicken rests, you have the perfect window to create a flavorful sauce directly in the skillet you just used. The browned bits at the bottom are packed with flavor. Here’s a classic approach, inspired by culinary insights:
- Deglaze: Add a splash of liquid to the hot pan – white wine, chicken broth, or even a dash of red wine. Scrape up the fond with a wooden spoon. This process is called deglazing, and it unlocks incredible flavor.
- Aromatics & Enhancers: Sauté finely minced garlic and sliced mushrooms until tender. A dash of fresh lemon juice adds brightness and cuts through richness.
- Thicken & Finish: Let the sauce reduce slightly until it thickens to your desired consistency. You can swirl in a knob of cold butter at the end for richness and shine, and finish with fresh herbs like parsley or thyme. This creates a wonderful "jus" that complements the chicken beautifully.
Delicious Pairings for Your Pan Seared Chicken:
The versatility of a well-cooked chicken breast means it pairs well with almost anything. Consider these ideas:
- Fresh Spring Vegetables: Lightly sautéed asparagus, snap peas, or green beans with a squeeze of lemon.
- Hearty Grains: Fluffy rice, quinoa, or a simple couscous.
- Potato Perfection: Creamy mashed potatoes, roasted baby potatoes, or even a simple baked potato.
- Crisp Salads: A refreshing green salad with a light vinaigrette can cut through the richness of the chicken and sauce.
Experiment with different flavor profiles, from Italian-inspired herbs and tomatoes to Asian-inspired ginger and soy, to truly make this pan seared chicken breast recipe your own.
Troubleshooting Common Pan-Searing Pitfalls:
- Dry Chicken: This is almost always due to overcooking or not allowing the chicken to rest. Always use a meat thermometer and adhere to the 155°F target before resting. Pounding to even thickness also helps prevent dry spots.
- No Crust/Pale Chicken: Ensure your chicken is thoroughly patted dry before oiling and seasoning. Too much moisture or not enough heat can hinder browning. Don't crowd the pan, which can lower the temperature and steam the chicken.
- Uneven Cooking: The most common culprit here is uneven thickness. Pound your chicken to ½ inch across the entire breast. Also, ensure your skillet is heating evenly, and flip frequently.
- Excessive Splattering: This usually means too much oil was used, or the chicken wasn't patted dry enough, causing water to hit hot oil. A light brush of oil is all you need.
Conclusion: Your Journey to Perfect Pan Seared Chicken Starts Now
The secret to perfectly pan-seared chicken, with its enticingly crispy skin and undeniably juicy interior, lies not in complex techniques, but in understanding and respecting the fundamentals. By embracing the innovative cold-start method, meticulous preparation—from pounding to patting dry—and precise temperature control, you can consistently achieve results that rival your favorite restaurant. No longer will you dread cooking chicken breast, but instead, you'll look forward to the delicious outcome. So, grab your skillet, follow these steps, and unlock the true potential of the humble pan seared chicken breast. Your culinary journey to a juicy, crispy masterpiece begins today!
